DIY Sessions: Succulent Wall Planters
Oh hello. It’s been a long time and I’m sure this is out of the blue. I’ve been doing a lot of DIY projects lately and although I have my “DIY Sessions” photo album on Facebook, I haven’t taken the time to post them on here.
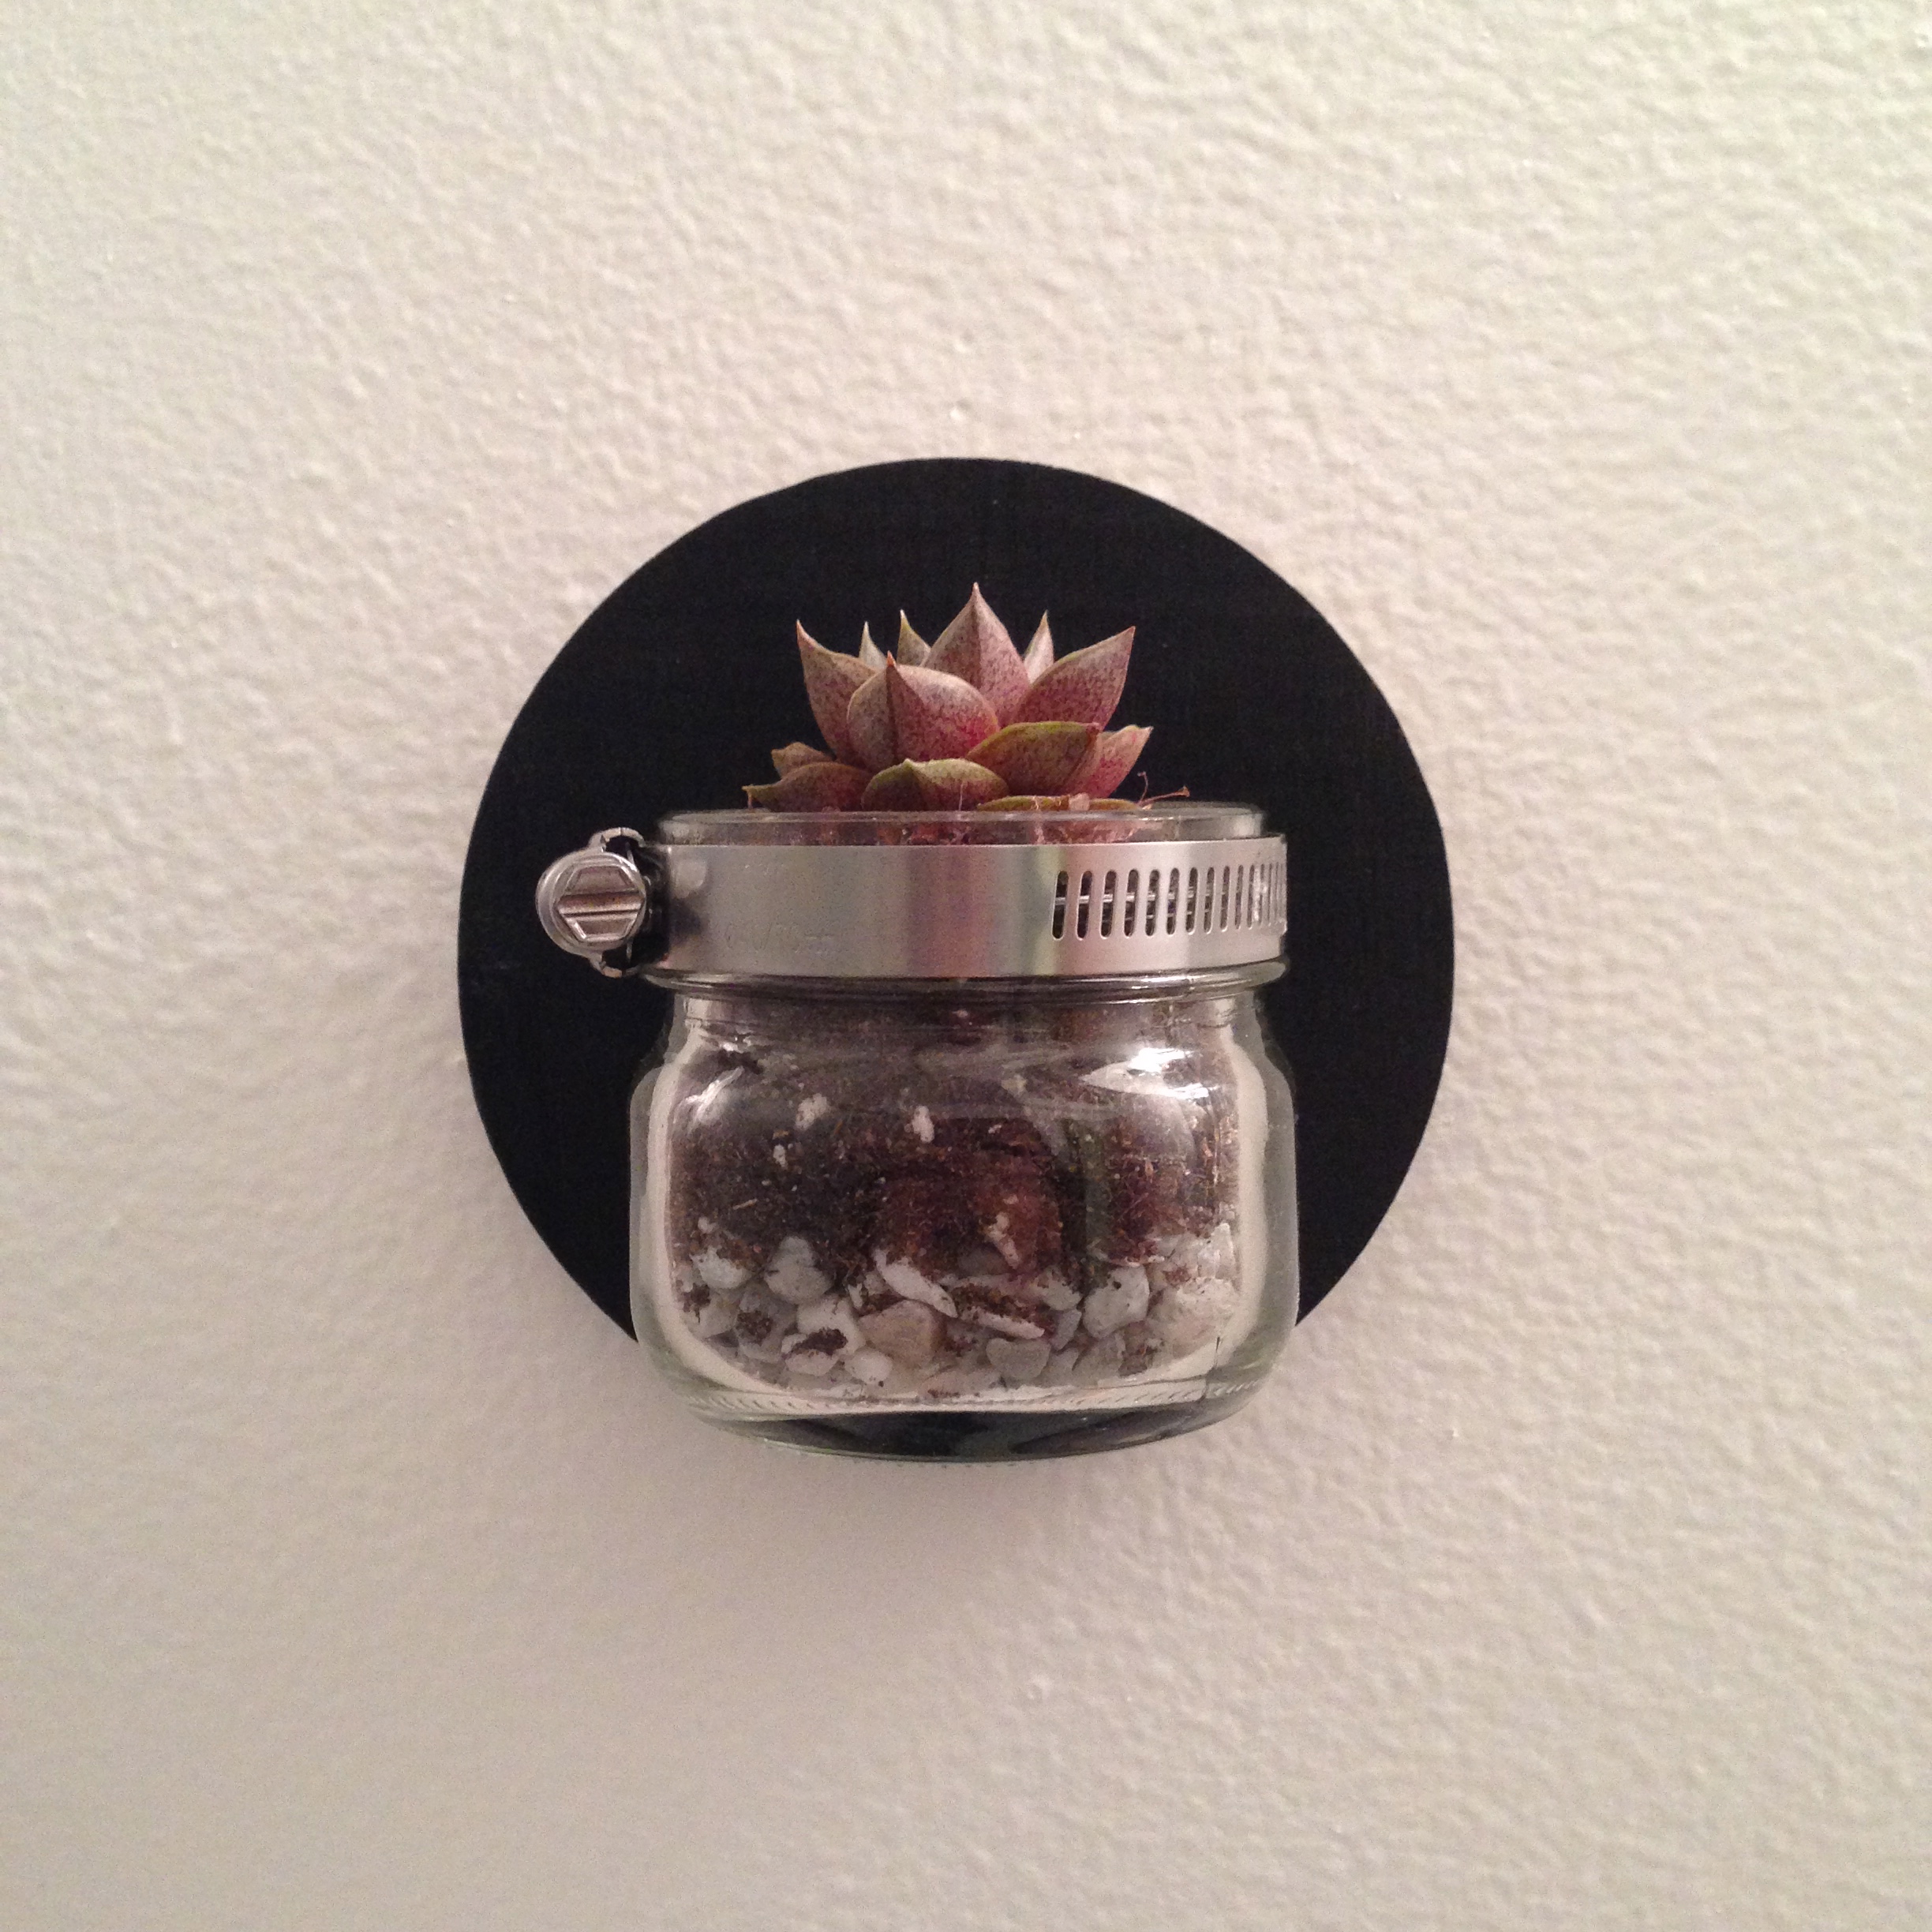
The latest one I did is a succulent wall planter.
Have you seen that tutorial on Pinterest on how to make a mason jar wall organizer? Well I made one of those and decided that I wanted to make mini ones for succulents.
BTW – This was my end product for the regular sized mason jars.

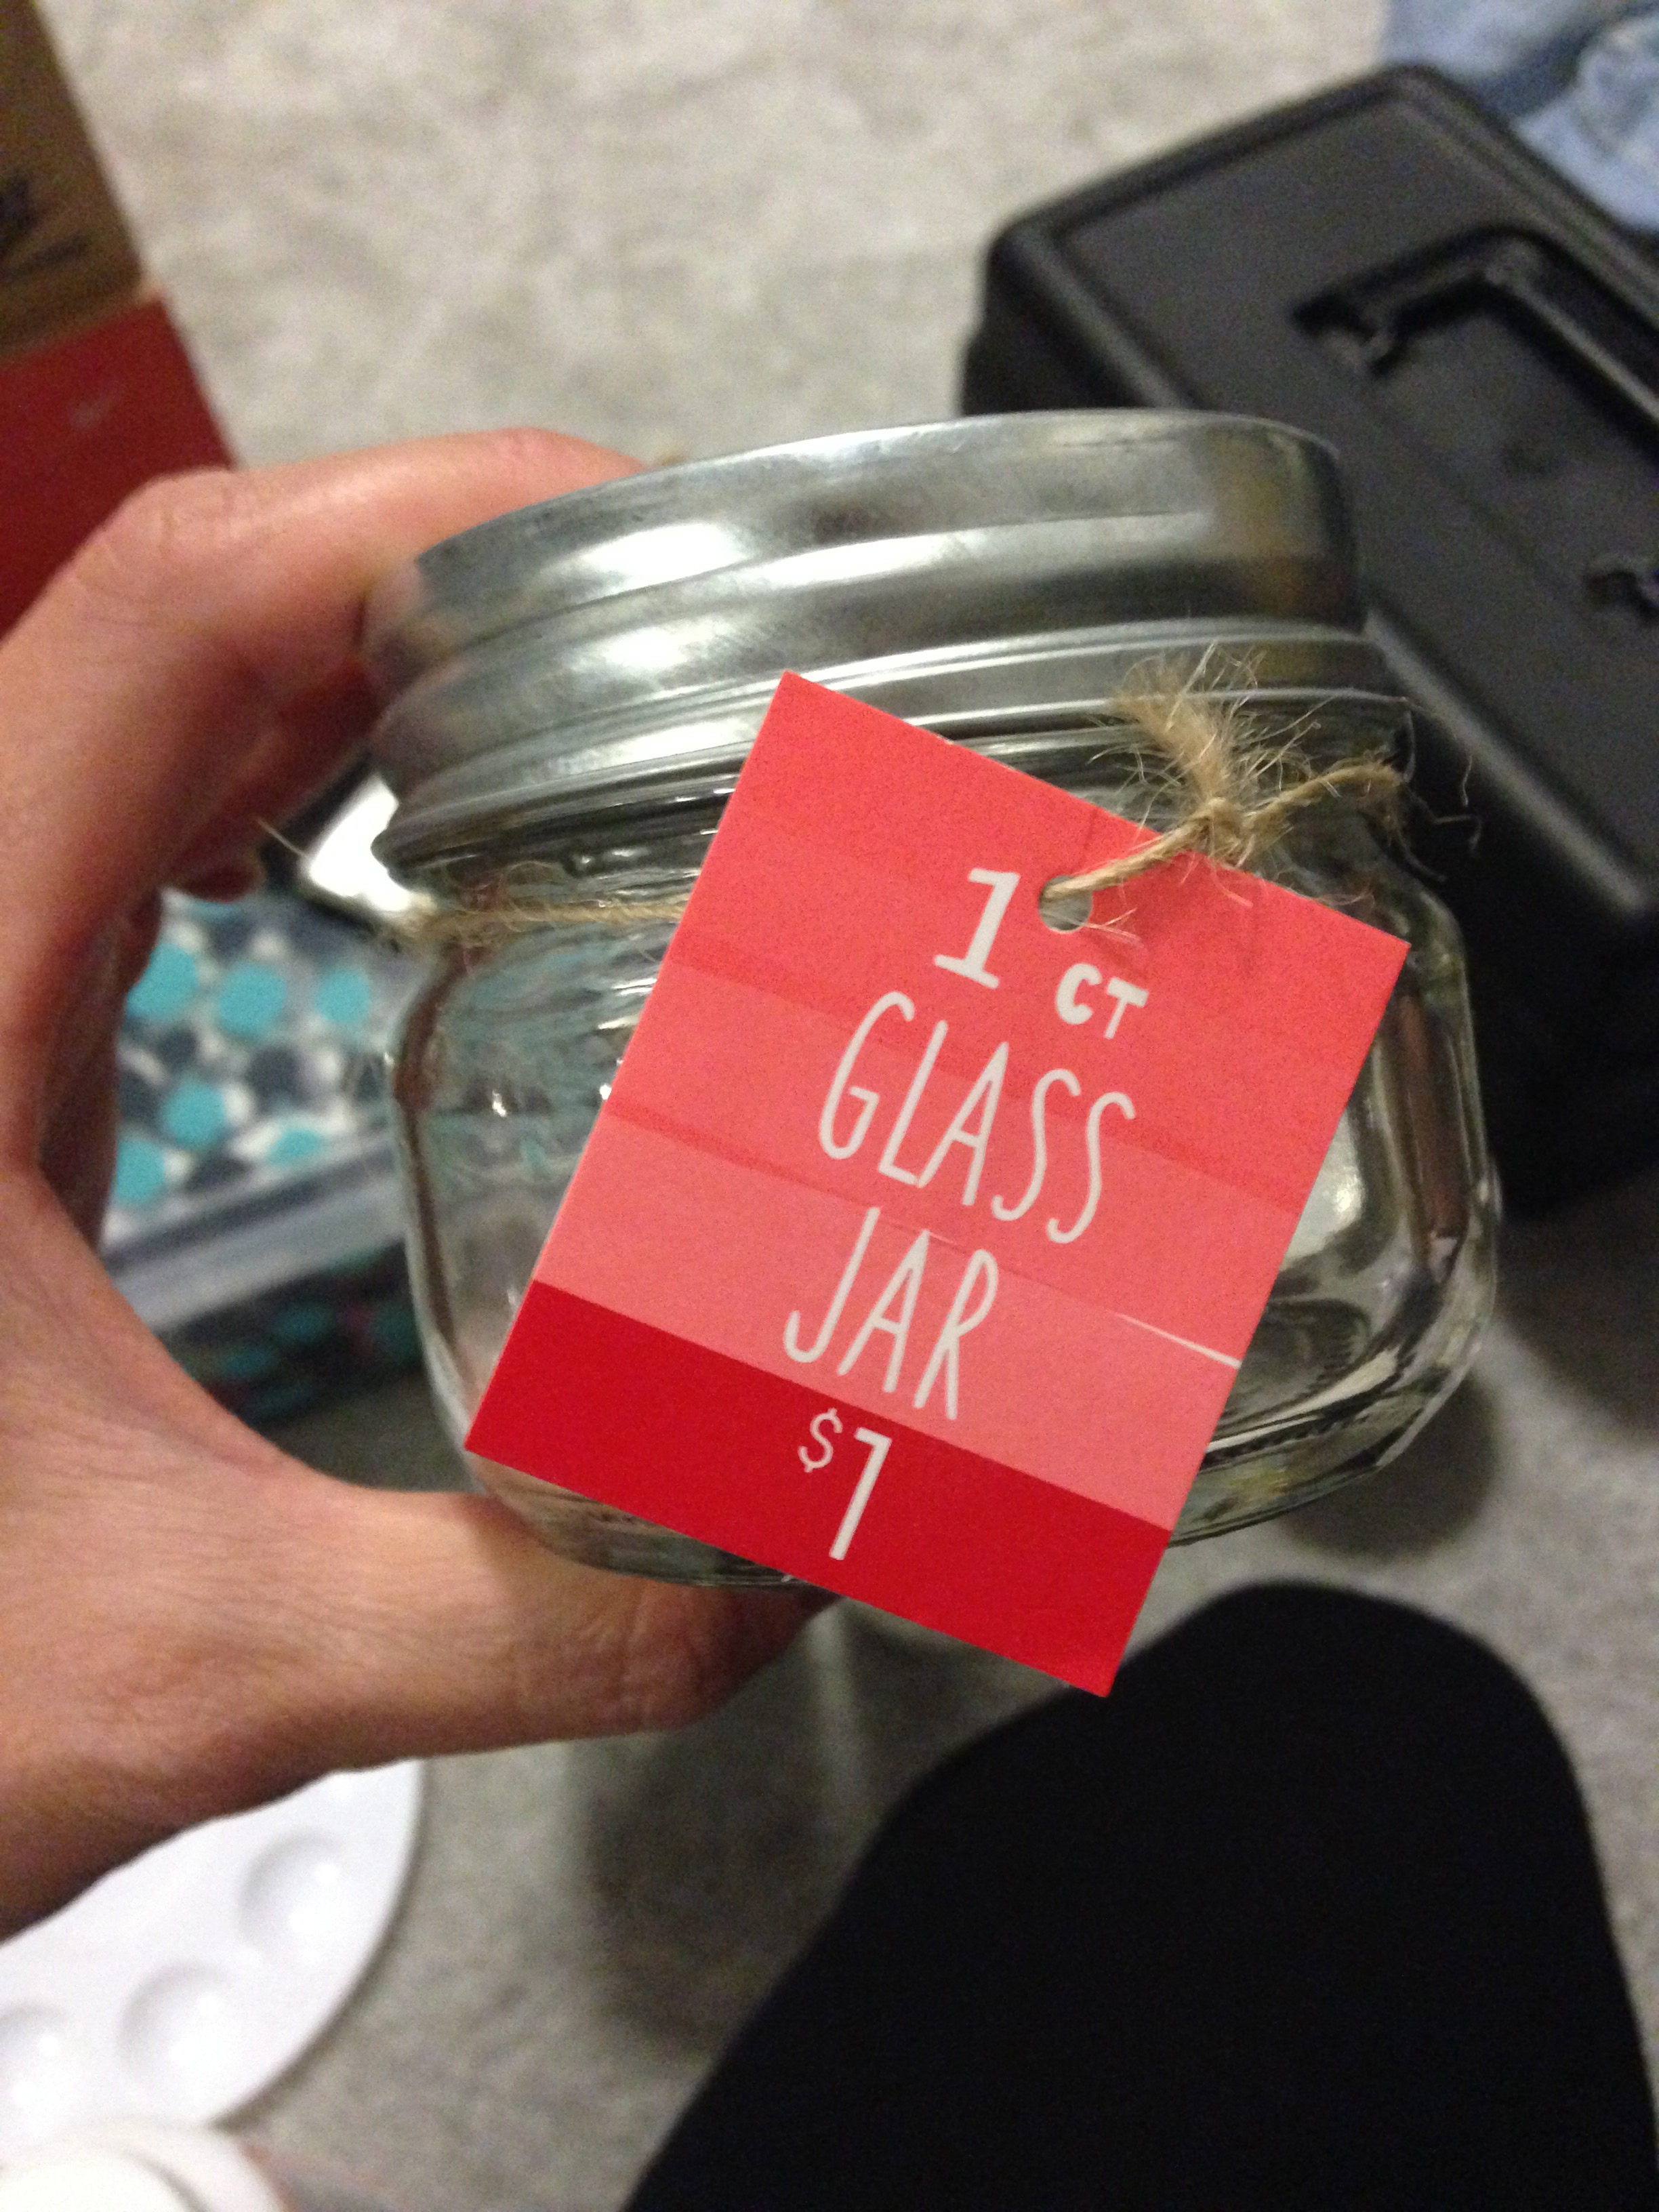
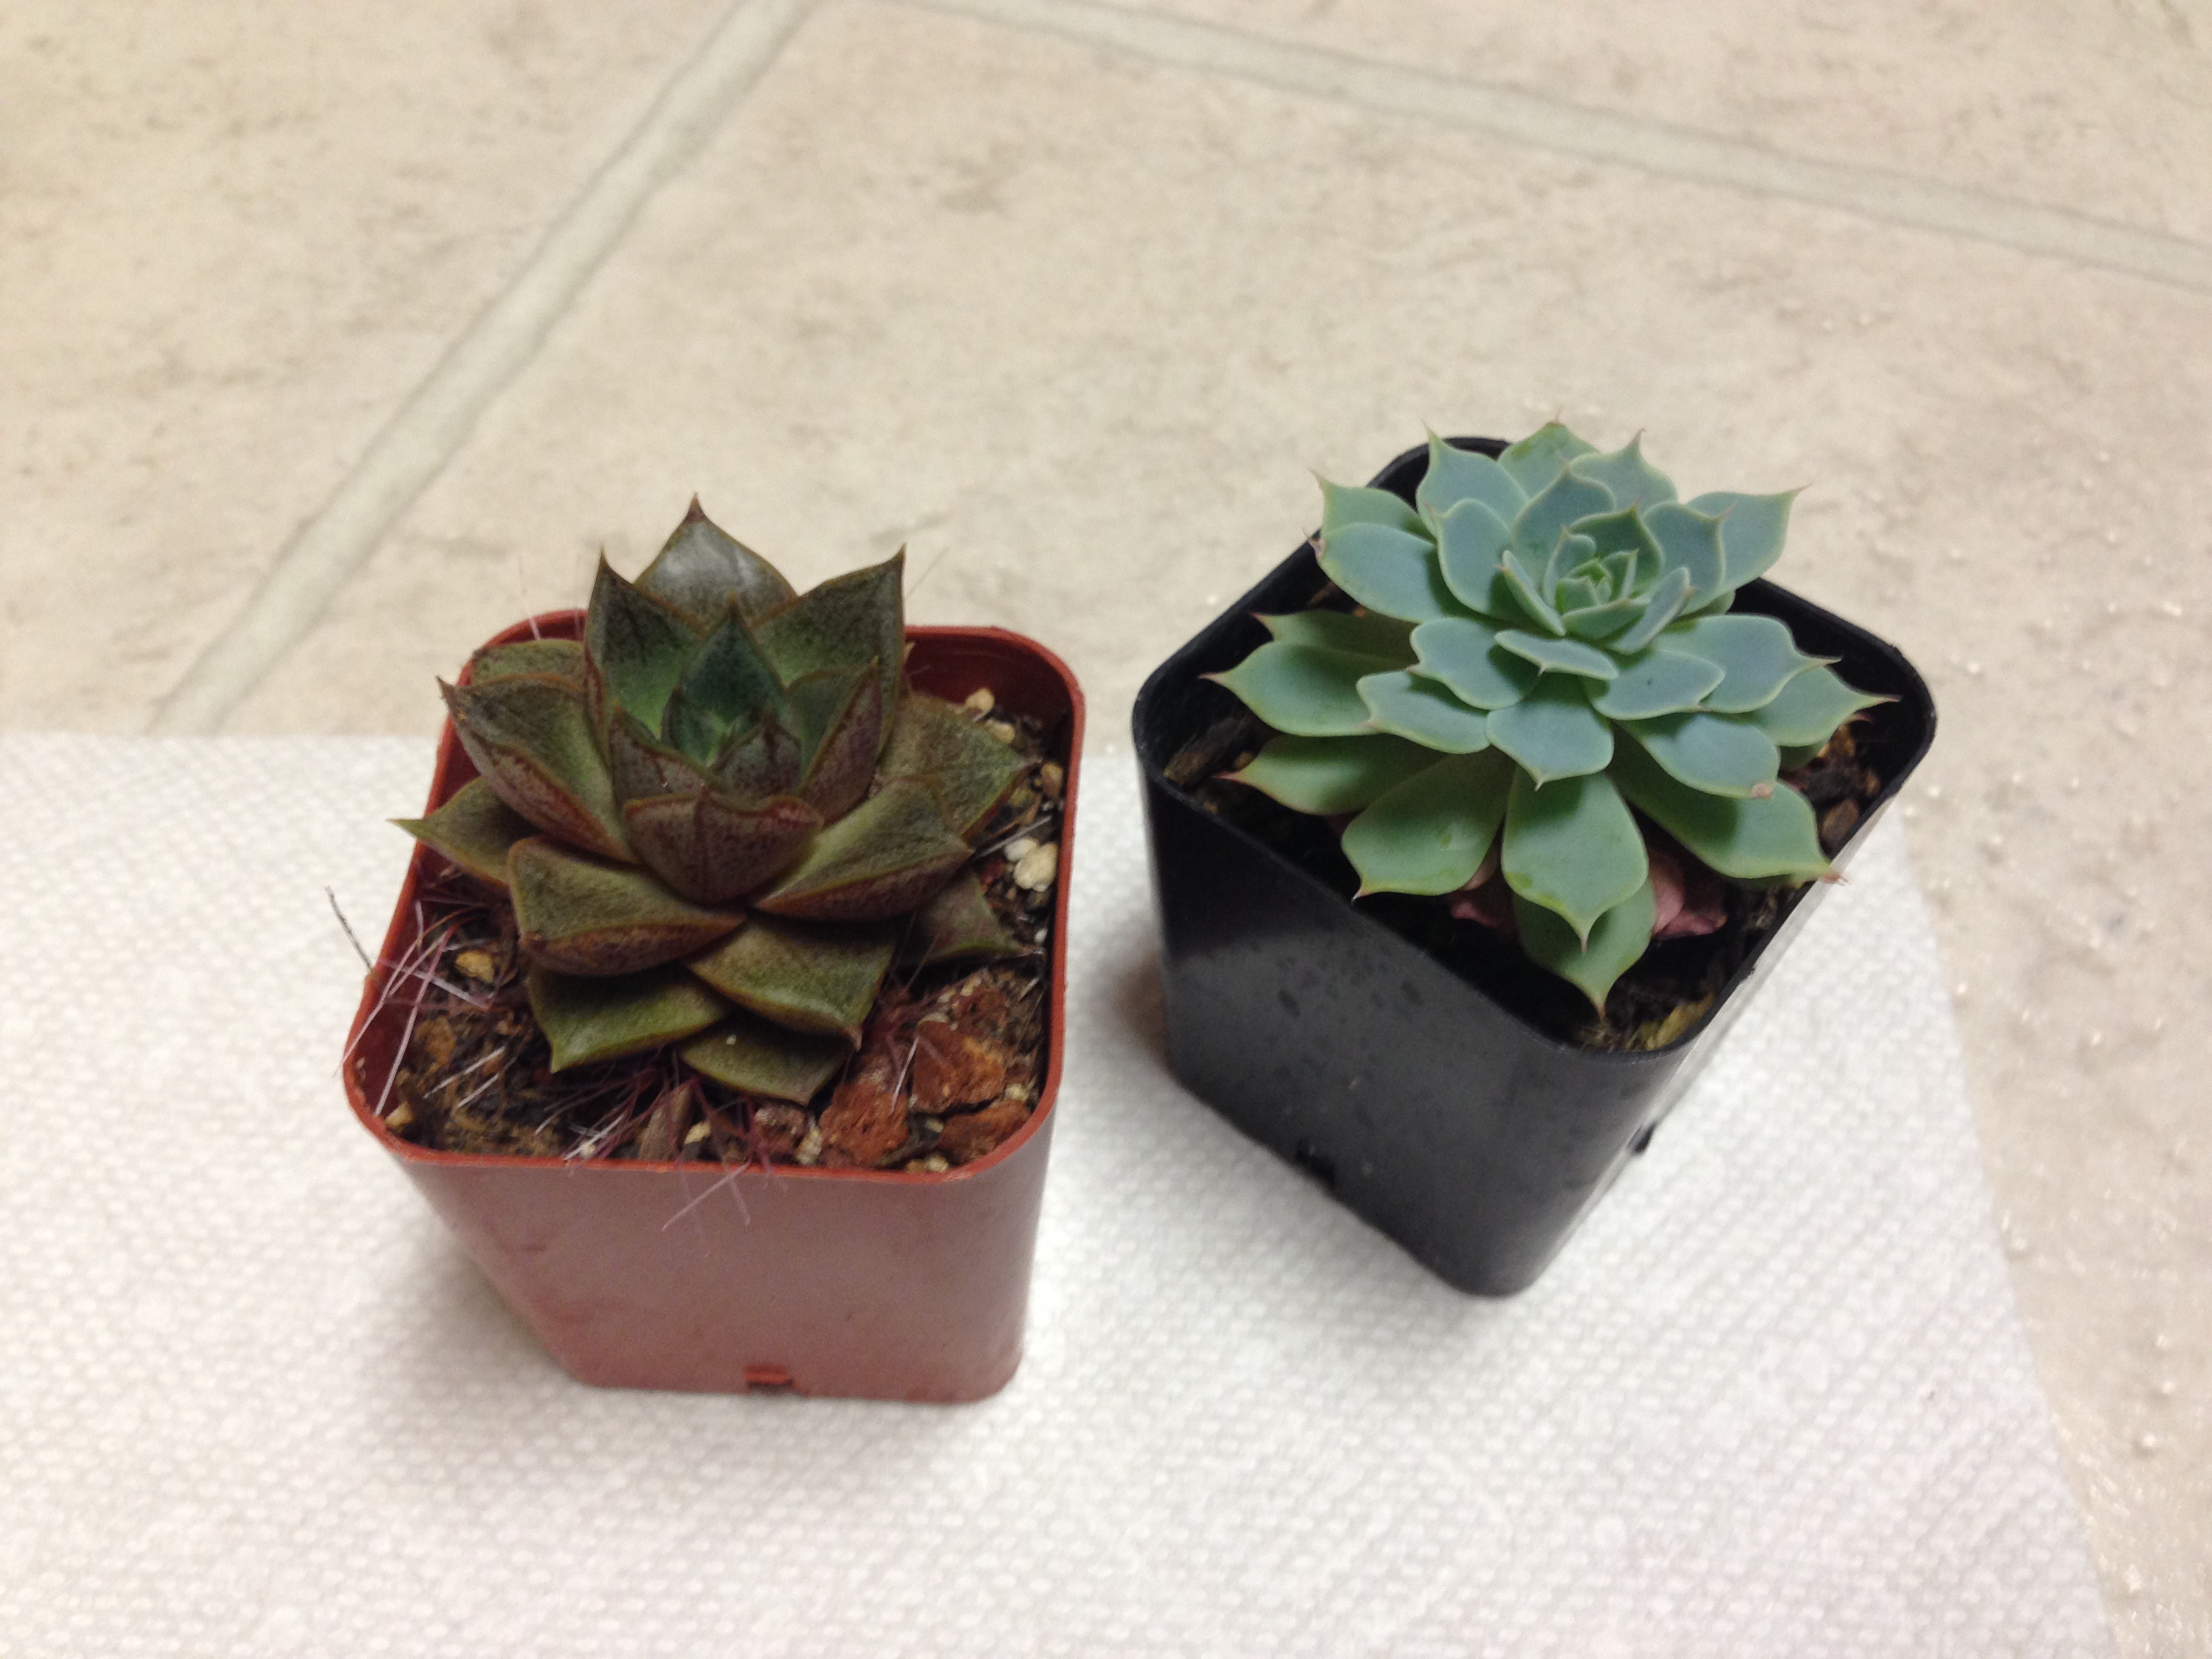
Any who, I decided to make the mini ones for my succulents. I had a hard time finding mini mason jars that I liked, but I came across some in the $1 section at Target.
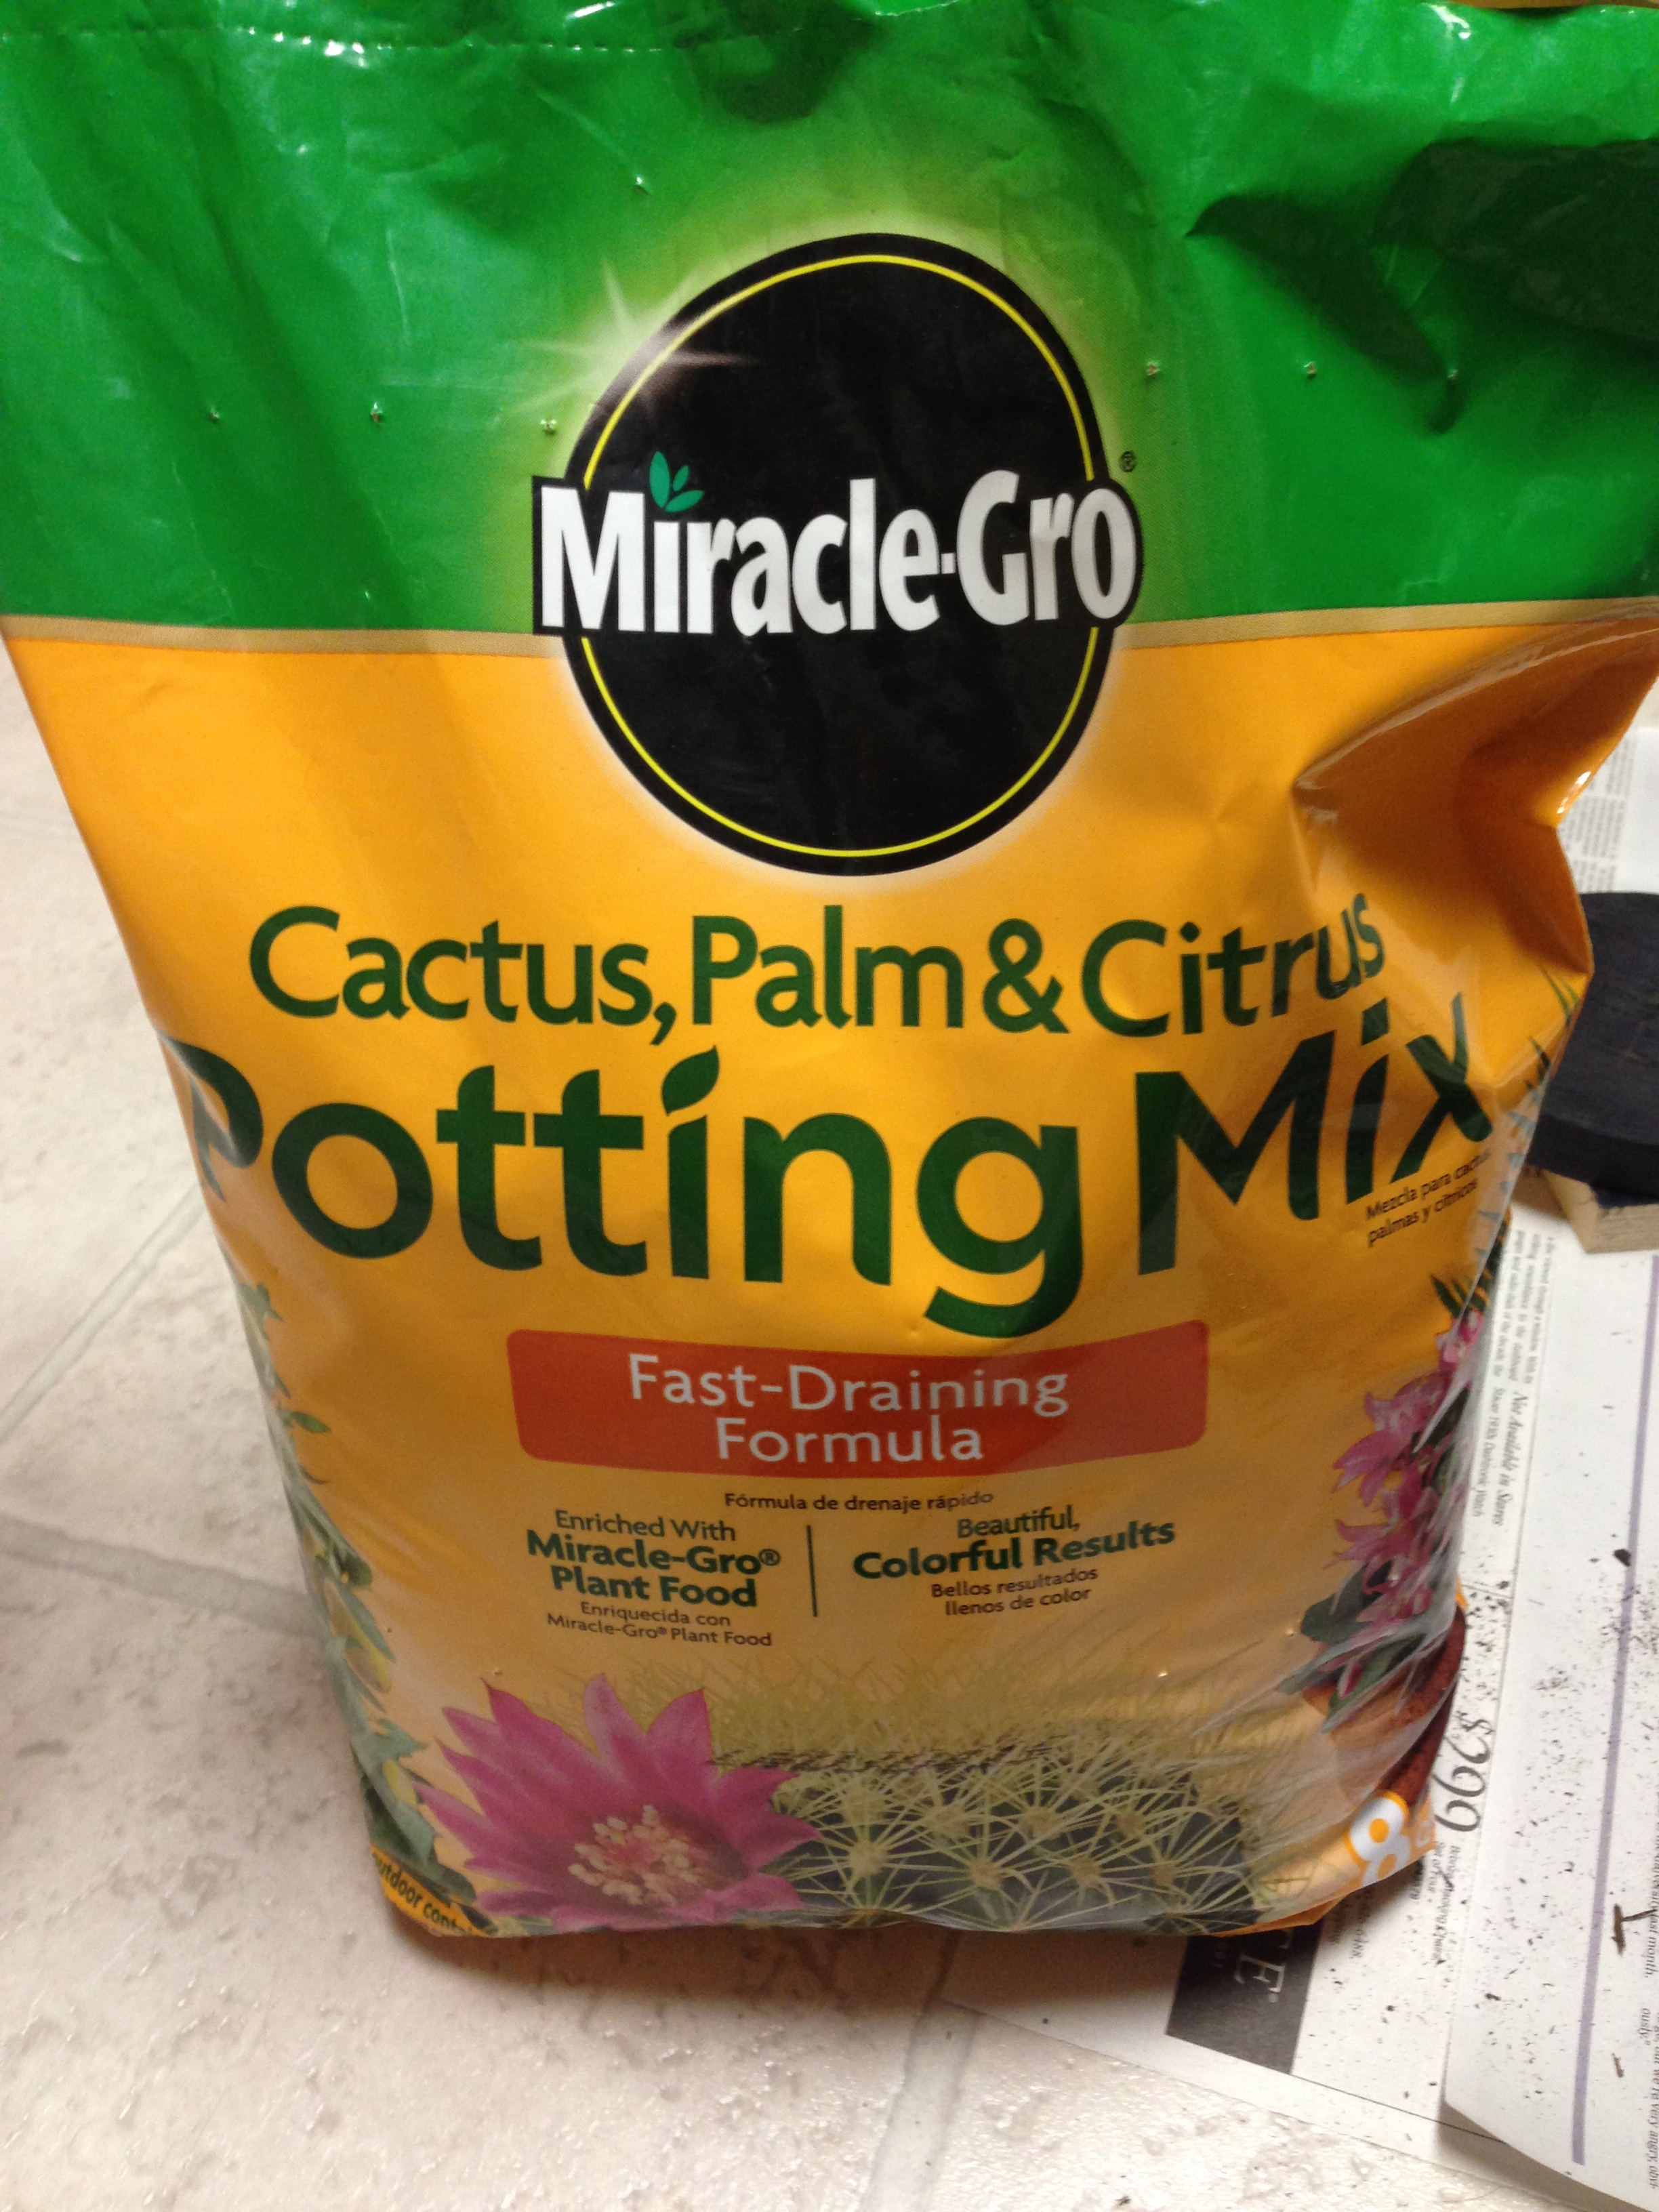
I ended up finding pebbles at Ikea for $0.99 each and bought the soil from Home Depot.

The wood was a little tricky. My friend was purchasing wood at Home Depot and while the worker was cutting it I thought I could use her left over pieces. The only problem was that they weren’t a complete square (they guy tried, but it didn’t come out). I decided to go Michael’s to check out their pre-cut wood and ended up getting 2 square and 2 round pieces. Honestly, I would have preferred using the wood from Home Depot because it felt heavier and more sturdy, however I’m no woodsman and don’t have the material to cut a small piece of wood to make it a square. It worked out in the end because I liked the way the round piece looked.
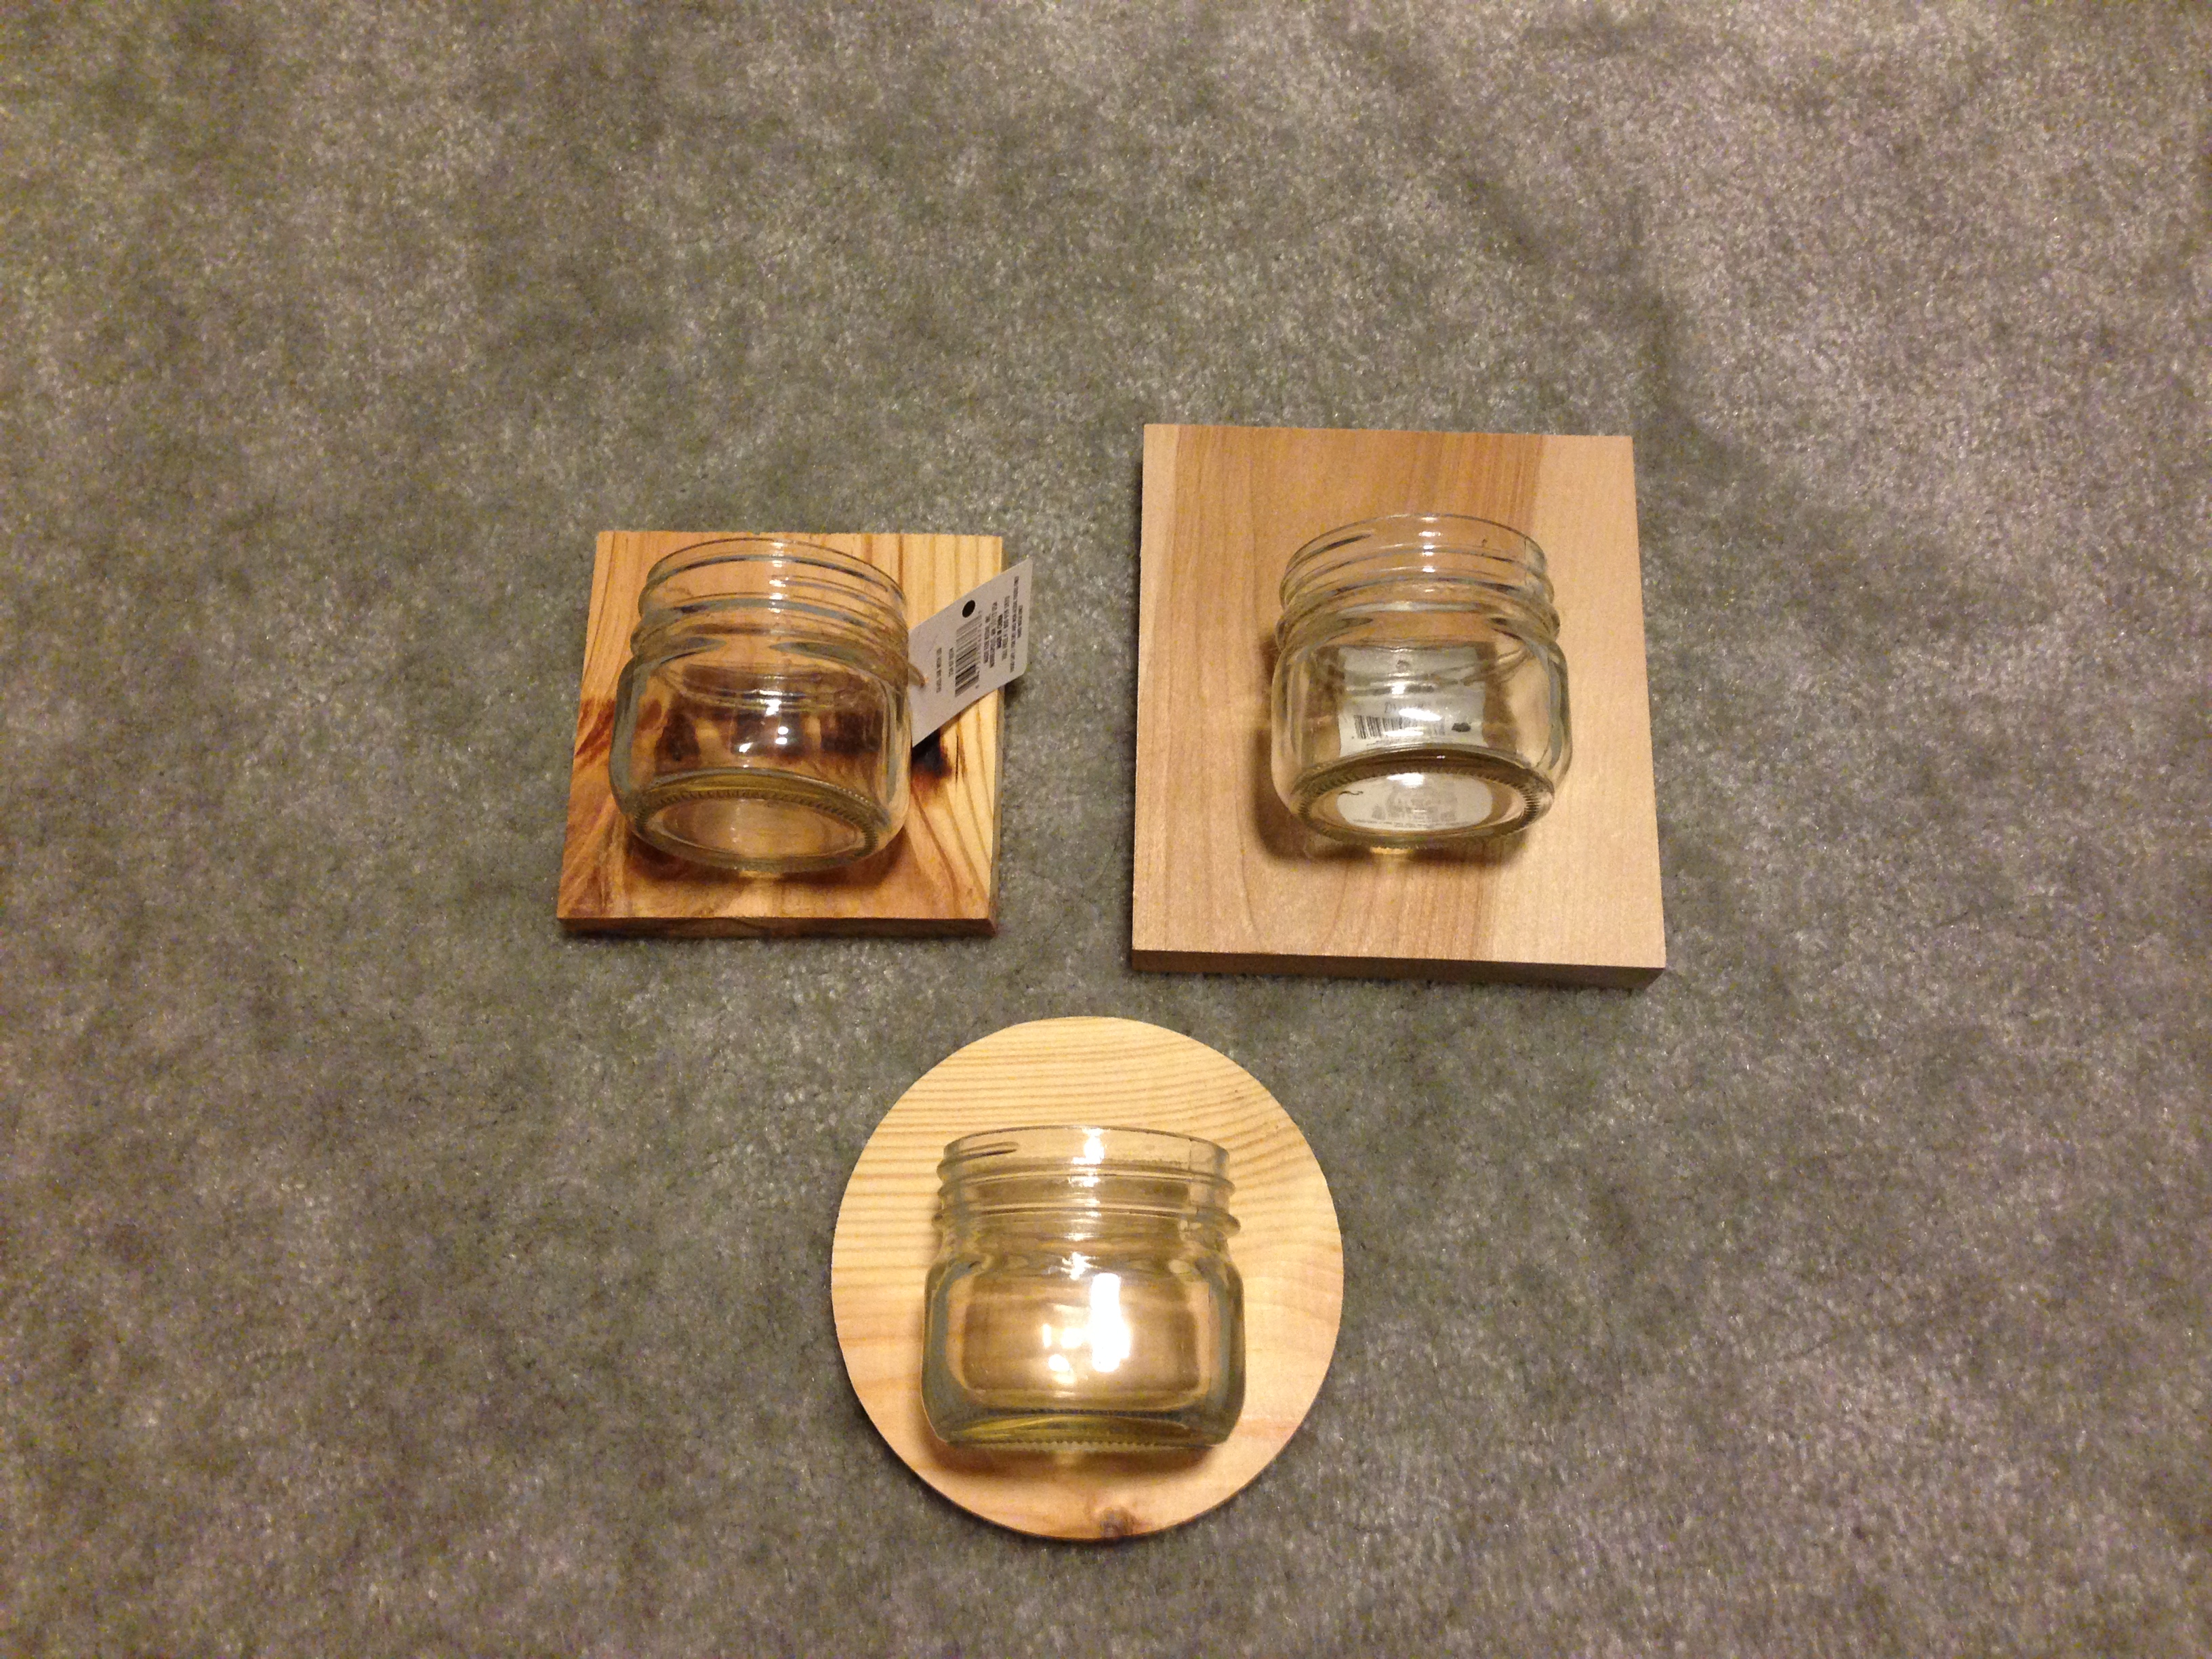
I added a wood stain and sealed it with Modge Podge after (I’m sure an actual wood sealer would be better). Then I added the hanging piece on the back.


I’ll most likely write a post on how I screwed the hose clamps to the wood but the only pictures I have doing this is from when I made the mason jar organizer. However…that’s all you’re really doing…screwing the hose clamp onto the wood.
Anyways…then it was time to plant the succulents. I started with the pebbles, added the soil, and then the succulent (with some more soil after).

The last step is to screw the hose clamp tight and voila!

Sorry if these aren’t the best instructions, but I never said I was good at writing them up step by step! Hopefully I’ll get around to sharing my other projects as well.


leave a comment